¶ Welcome Window
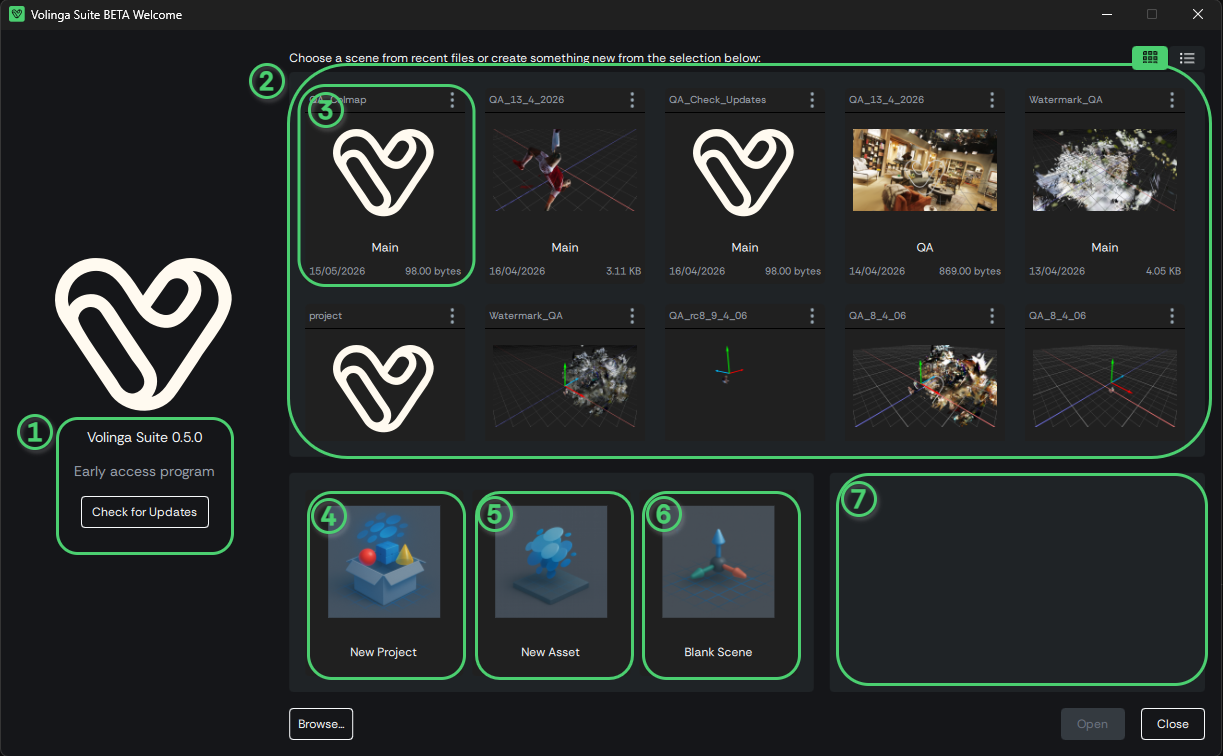
When launching Volinga Suite, the Welcome Window provides quick access to your workflow. It displays recently opened scenes and three main creation entry points.
¶ Overview
The Welcome Window is composed of the following elements:
-
1) Version Info
Displays the current application version. The Check Updates button allows you to update Volinga Suite. -
2) Scene Selector
Allows you to select a recently opened scene. -
3) Recent Scene Preview
Displays the project name and a preview of the scene. -
4) New Project
Creates a new project with the required folder structure. -
5) New Scene
Creates a new empty scene inside an existing project. -
6) New Asset
Starts the workflow to create a new 3D Gaussian Splatting asset from source data. -
7) Information Panel
Displays help messages and contextual information.
¶ Creating a New Project
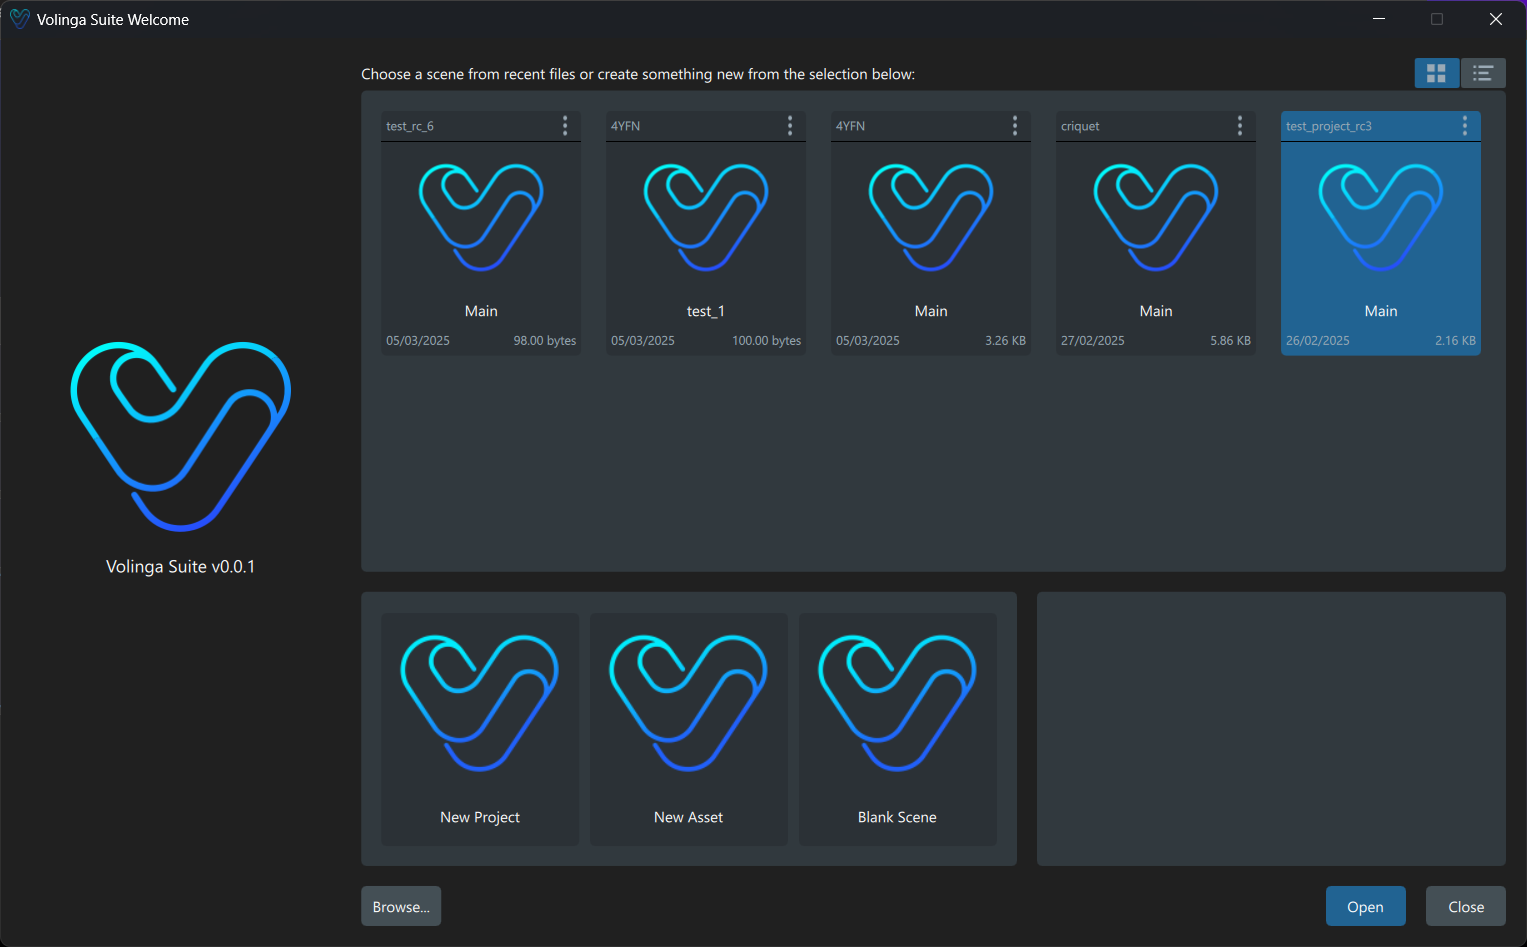
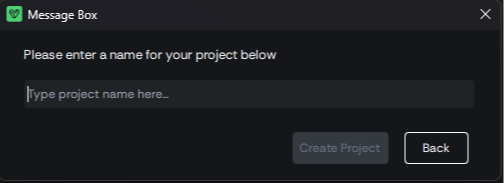
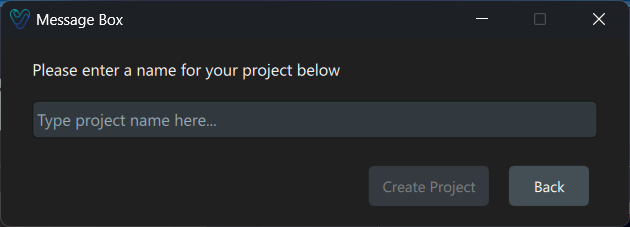
To create a new project, define a destination folder and a project name.
Once confirmed, Volinga Suite automatically initializes the project structure and creates a default empty scene named: main.vscene
This provides a clean starting point for your work.
¶ Creating a New Scene
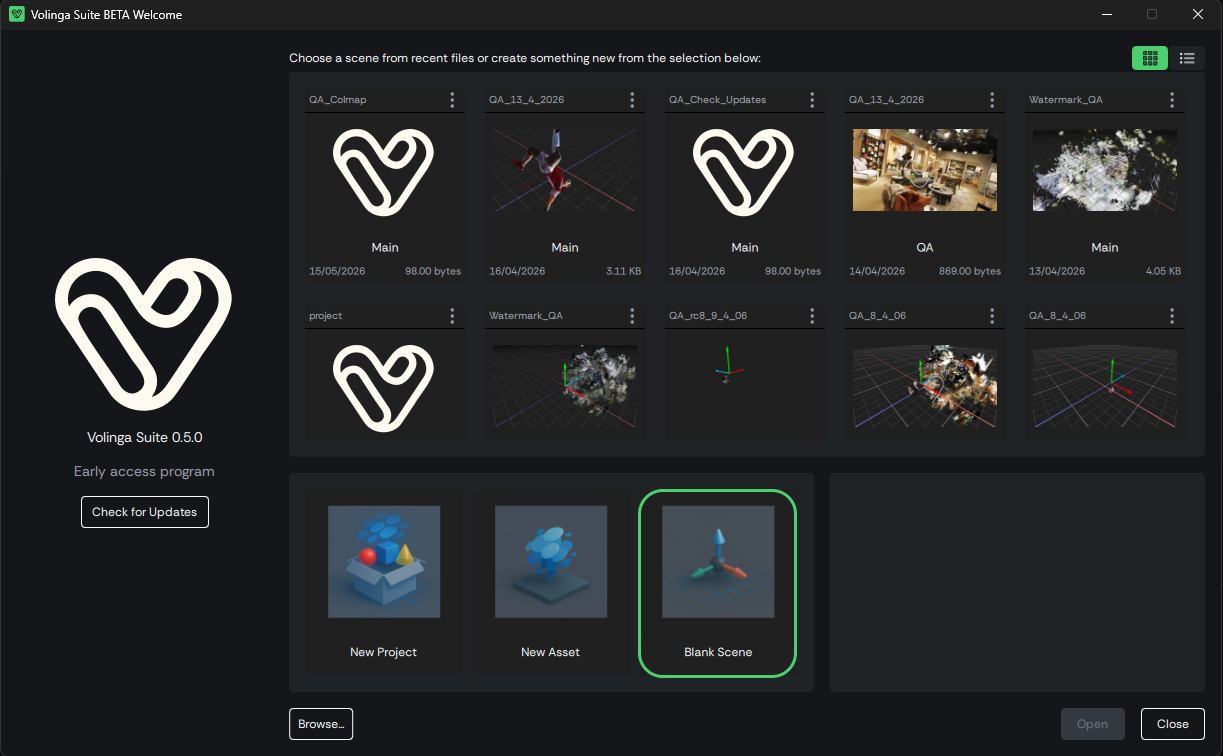
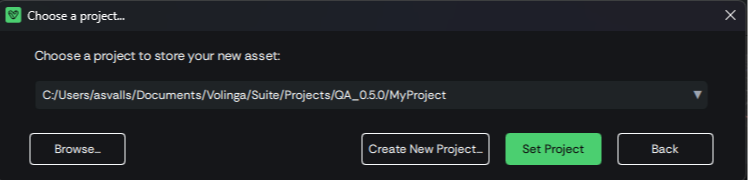
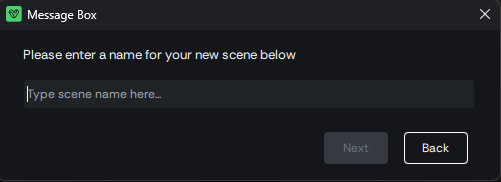
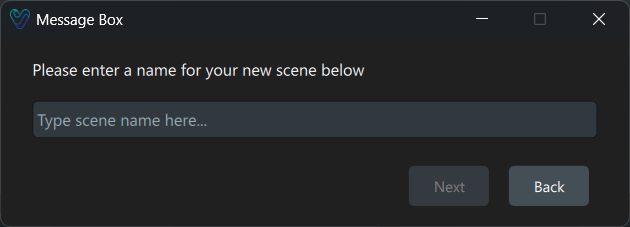
The Blank Scene workflow allows you to create a new scene inside an existing project. If no project is currently selected, you will be prompted to create one.
Once named, the scene is saved as a .vscene file within the project structure.
¶ Alternative Method: Creating a Scene from the Top Menu
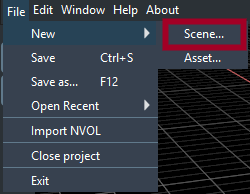
You can also create a new scene while working inside an existing project using the top menu.
Navigate to: File → New → Scene
This will open the same New Scene workflow, allowing you to define the scene name and create a .vscene file within the current project.
Once selected, the system will prompt you to configure and confirm the creation of the new scene within your active project.
 >
>
¶ Creating a New Asset
Assets are the fundamental building blocks of Volinga Suite.
A new asset is created by generating an NVOL file, either from source media (training a 3D Gaussian Splatting model) or by converting existing 3DGS PLY files.
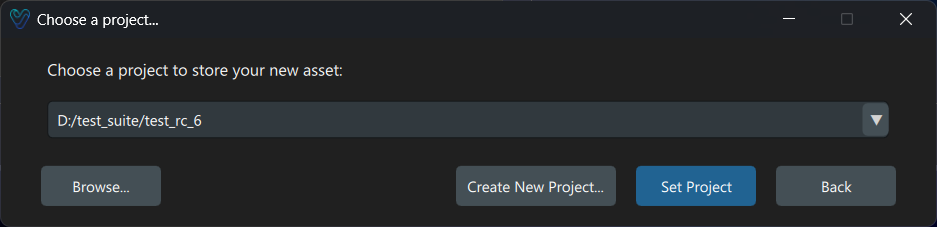
When creating a new asset, you must first select the target project. If no project exists, the system will guide you through the project creation workflow.
The Media Importer Wizard supports the following input types:
-
Images / Videos (
.png,.jpg,.jpeg,.mp4,.mov)
A minimum of 20 images or an equivalent video is required. -
OpenEXR files (
.exr)
Processed according to ACES 2065-1 specifications.
See: EXR Files for ACES -
3DGS PLY files (
.ply)
Can be converted directly into NVOL format for use in Volinga Suite. -
COLMAP models
Imported using the Import COLMAP Registration option.
¶ Alternative Method: Creating a Asset from the Top Menu
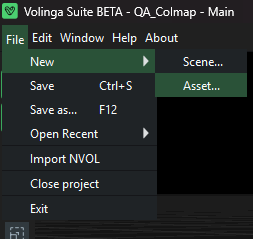
You can also create a new asset while working inside an existing project using the top menu.
Navigate to: File → New → Asset
This action opens the same New Asset workflow described above, allowing you to select input data and configure the asset creation process.
Once selected, Volinga Suite will guide you through the Media Importer Wizard, where you can define the source data and start the asset generation pipeline.
This method is recommended when you are already working within a project and want to quickly add new assets without returning to the Welcome Window.
¶ Training Parameters
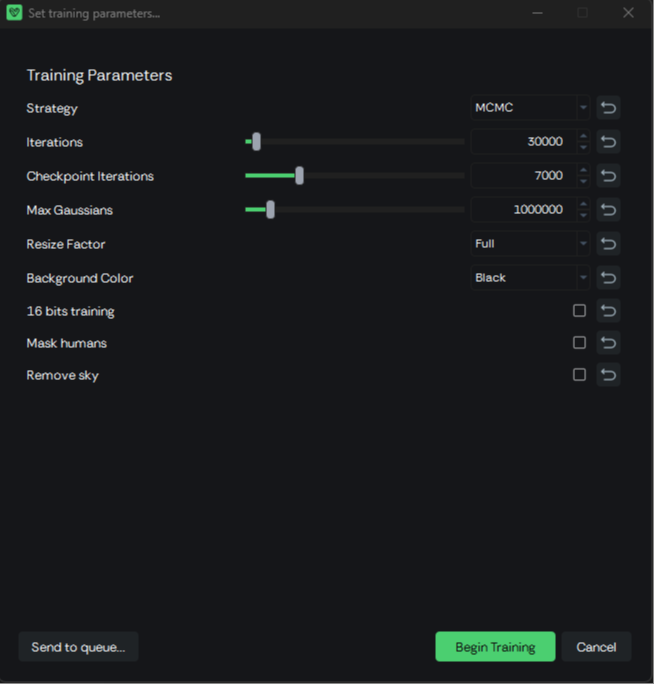
The Trainer in Volinga Suite defines how a 3D Gaussian Splatting asset is optimized from input data. The following parameters control performance, quality, and scene representation during training.
¶ Strategy
Strategy defines the optimization and Gaussian refinement method used during training.
The available strategies depend on the version of Volinga Suite:
| Volinga Suite Version | MCMC | MRNF | IGS+ | ADC |
|---|---|---|---|---|
| 0.5.0 | ✅ | ✅ | ✅ | — |
| 0.4.0 | ✅ | ✅ | — | — |
| 0.3.0 | ✅ | — | — | ✅ |
Volinga Suite 0.5.0
Volinga Suite 0.5.0 introduces IGS+ as a new training strategy.
The available strategies in this version are MCMC, MRNF, and IGS+.
Each strategy uses a different approach to Gaussian optimization and refinement, resulting in different trade-offs between reconstruction quality, detail, Gaussian distribution, training behavior, and resource usage.
For a detailed description of each method, including its characteristics, advantages, and limitations, see Training Strategies.
¶ Iterations
Iterations: Defines the total number of training iterations.
- Higher values generally improve reconstruction quality.
- Improvements tend to plateau after a certain threshold.
- Very high values significantly increase training time.
¶ Checkpoint Iterations
Checkpoint Iterations: Defines how often training checkpoints are saved.
- Example: 7000 saves a checkpoint every 7000 iterations.
- Useful for progress recovery and intermediate evaluation.
¶ Max Gaussians
Max Gaussians: Defines the maximum number of Gaussians allowed in the model.
- Acts as an upper bound for scene complexity.
- Higher values increase detail but also memory usage and file size.
- In MCMC mode, it directly influences the final Gaussian distribution.
¶ Resize Factor
- Resize Factor: Controls the input image resolution used for training.
- Available values: Full,50%,25%,12.5%
- Lower values improve performance and reduce memory usage.
- Higher values improve reconstruction quality and detail.
¶ Background Color
Background Color: Defines the background representation during training.
- Options:
- Black: Uses a constant black background.
- Random: Uses per-pixel random background values.
- Random mode can improve robustness in difficult lighting or segmentation conditions.
¶ 16-bit Training
16-bit Training: Enables loading images in 16-bit format.
- Improves precision in high dynamic range or fine gradient scenes.
- Increases memory usage compared to 8-bit training.
¶ Mask Humans
Mask Humans: Automatically detects people in the source images and generates masks to exclude them from the training process.
When enabled, Volinga Suite analyzes the input images and creates the corresponding human masks before training. Pixels identified as belonging to people are excluded from the reconstruction, preventing those regions from contributing to the optimization of the Gaussian model.
This is particularly useful for captures performed in environments where people could not be completely removed during acquisition, such as:
- Public spaces.
- Events and live environments.
- Indoor locations with people moving through the scene.
- Large-scale captures where maintaining an empty environment is difficult.
Note
Mask generation is automatic. However, detection results depend on the source images and may not always identify every person or boundary perfectly.
¶ Remove Sky
Remove Sky: Automatically detects sky regions in the source images and generates masks to exclude them from the training process.
When enabled, Volinga Suite generates sky masks for the input images before training. Detected sky pixels are excluded from the reconstruction, preventing the Trainer from allocating Gaussians to distant or poorly constrained sky regions.
This is particularly useful for:
- Outdoor captures.
- Large environments with a significant amount of visible sky.
- Scenes where the sky is not required as part of the reconstructed asset.
- Captures where excluding the background helps focus the Gaussian representation on the scene geometry.
Note
Sky mask generation is automatic. Detection accuracy may vary depending on lighting conditions, clouds, reflections, and the visual separation between the sky and the surrounding scene.
¶ Training Execution
Adjusting the Resize Factor and enabling 16-bit Training allows you to balance GPU memory usage, training stability, and output quality. Lower resize factors reduce memory consumption and speed up training, while higher values preserve finer detail at the cost of increased computational load. Enabling 16-bit training improves precision in scenes with high dynamic range or subtle gradients, but increases memory requirements.
If your system meets the recommended hardware specifications—specifically with at least 24GB of VRAM—you can safely train using Full resolution, 16-bit training, and higher Gaussian limits without significant performance issues.
Once all parameters are configured, you can start training immediately or queue the job:
- Begin Training: Starts the selected job immediately. If another job is currently running, it will be interrupted and replaced by the new one.
- Send to Queue: Adds the job to the end of the processing queue. If no job is currently running, the asset will start processing immediately.
More details about how the job queue system works in Volinga Suite are provided in the following section.
¶ Job Queue Manager
The Job Queue Manager (JQM) allows monitoring and controlling asset processing tasks. It provides real-time progress updates, job prioritization, and log details, ensuring efficient processing management.
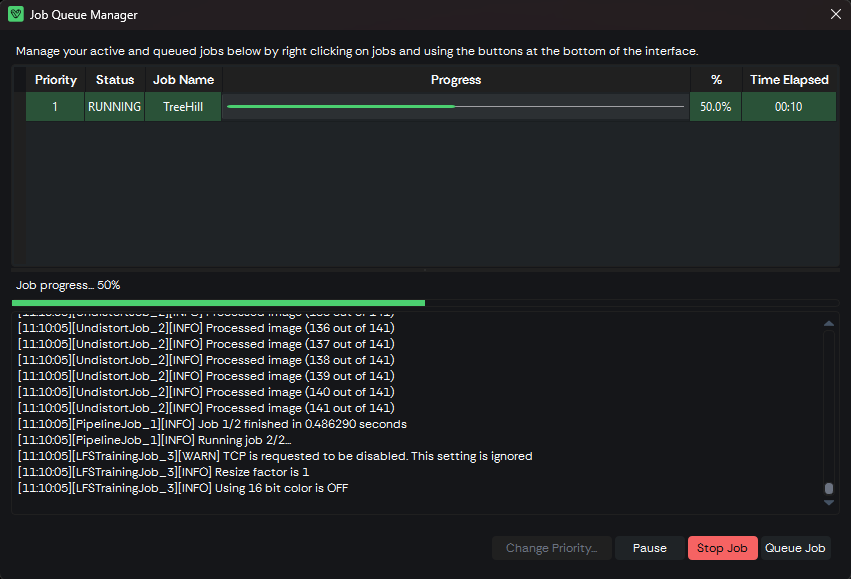
On the top part of the JQM, the list of jobs in the queue can be found. The jobs are executed by priority order, and only one job can be executed at the same time. Jobs can have the following status:
- Queued: Job is queued and waiting to be executed.
- Running: Job is being executed right now.
- Paused: Job started to execute but was paused by the user.
- Completed: Job has finished processing.
- Failed: An error occurred during job execution.
You can reprioritize jobs in the queue by selecting a job and clicking the "Change Priority" button. Assigning priority 1 to a job will immediately move it to the front of the queue and start its execution, pausing any job that is currently running.
Resuming a paused job will also start it immediately and move it to the top of the queue, interrupting any active job in progress.
Removing a job from the queue will delete it, while stopping a running job will cancel its execution and remove it from the list entirely.
Finally, the "Queue Job" button allows you to add a new job to the queue by launching the new asset creation workflow.
¶ Updating Volinga Suite
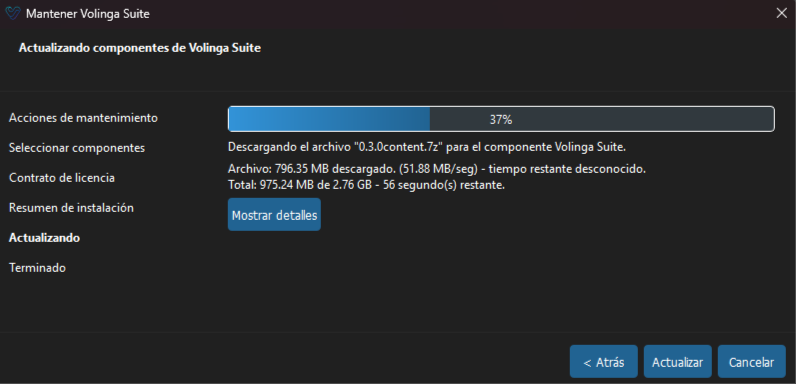
Volinga Suite includes a built-in update system that allows you to easily install new versions when they become available.
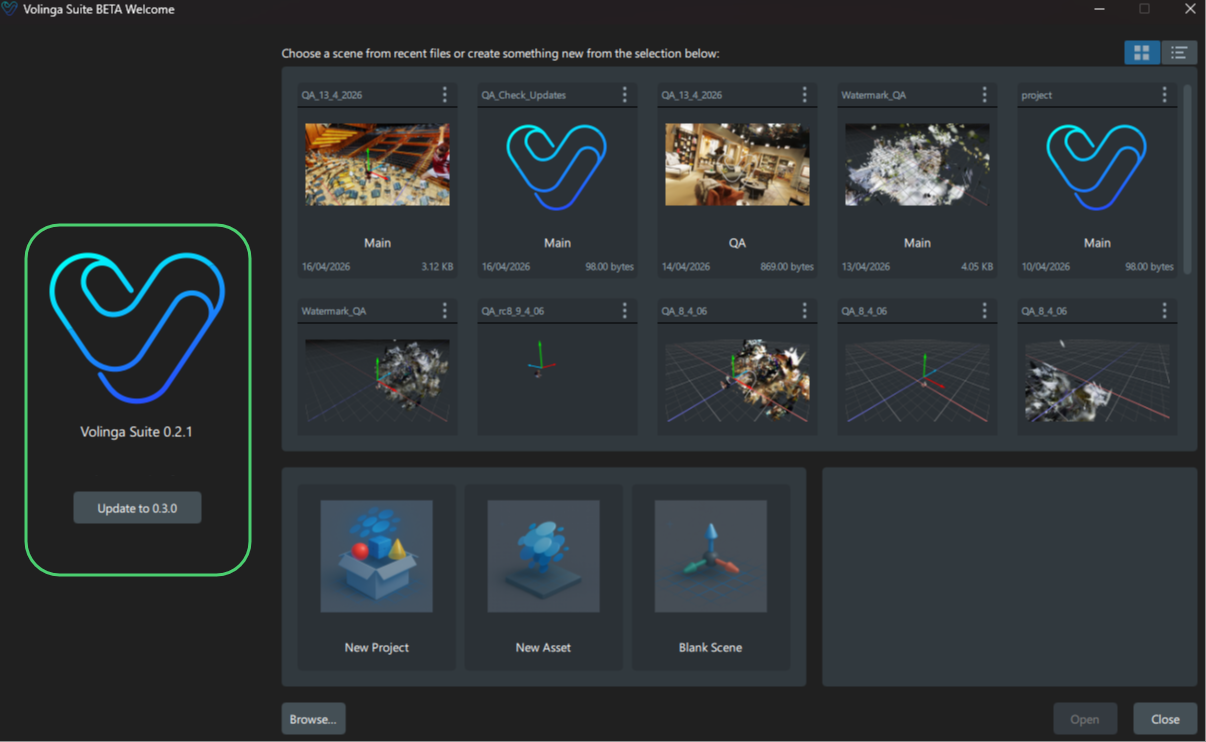
¶ From the Welcome Window
On the left side of the Welcome Window, you will see:
- The current installed version
- A Check Updates button (if an update is available)
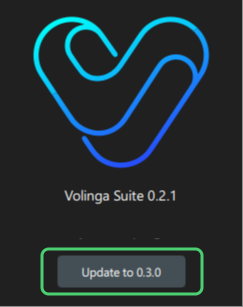
To update:
- Click the Check Updates button
- The installer / component manager wizard will open
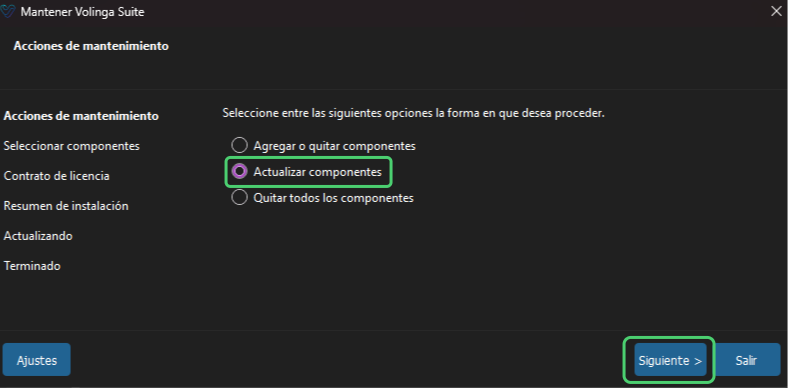
- Make sure the option “Update Components” is selected
- Click Next to start the update process
¶ Verifying Your Version
You can check your current version at any time:
- From the Welcome Window (left panel, below the Volinga logo)
- From inside the application via:
Toolbar Menu → About
After updating, you can continue working normally with the latest version installed.