Volinga Suite provides a complete environment for assembling and editing 3D scenes using one or multiple NVOL assets. These assets can be generated within the Suite through training workflows or imported from external sources such as PLY-based 3DGS data. The editor enables you to organize, transform, and combine these elements into structured scenes ready for further processing or real-time integration.
¶ Interface Overview
The Main Window is the primary workspace where scenes are created, edited, and organized.
It provides access to all core tools required to assemble and manipulate 3D Gaussian Splatting (3DGS) content.
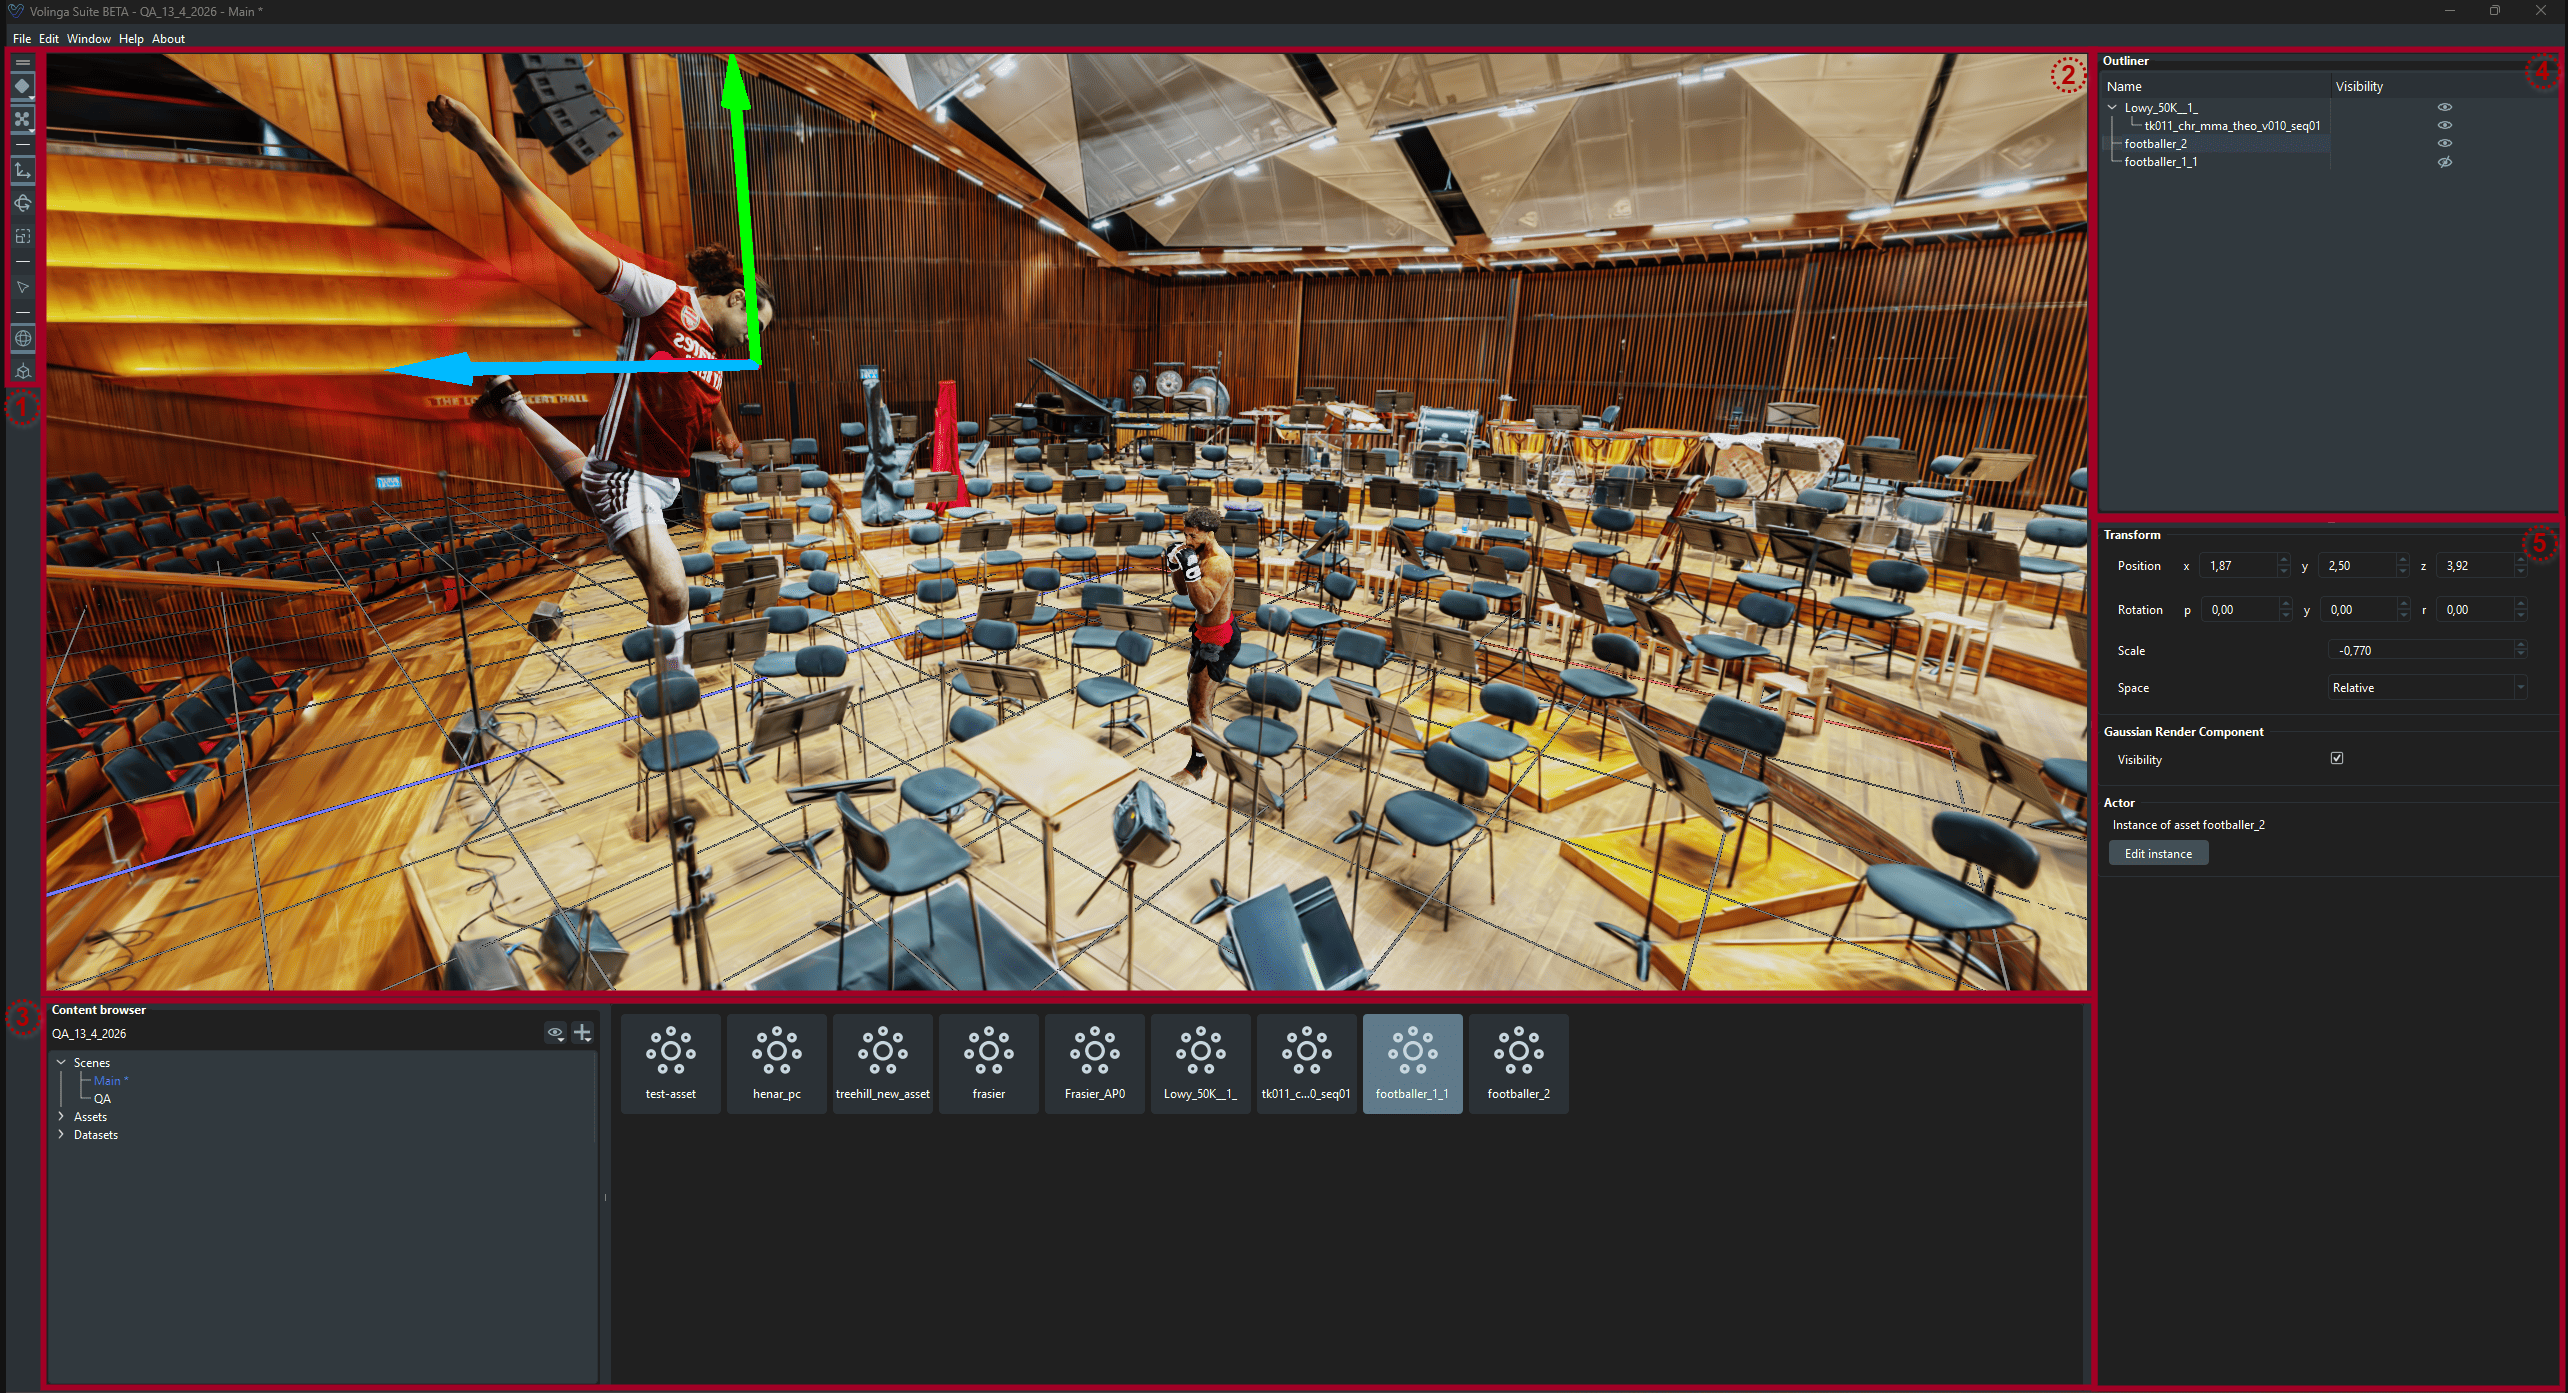
The interface is composed of the following main components:
-
1) Tools Panel
Provides access to visualization, transformation, and interaction tools used for scene editing. -
2) Viewport
Displays and allows real-time interaction with 3DGS elements. -
3) Content Browser
Displays all scenes and assets within the project, enabling asset navigation and management. -
4) Scene Outliner
Lists all actors in the scene and their hierarchical relationships. -
5) Properties Panel
Provides real-time editing controls for selected actors, including transform and parameter adjustments.
¶ Tools Overview
The Tools Panel provides the core functionality for interacting with and editing actors within a scene.
These tools control visualization, transformation, selection, and scene organization.
-
Render Mode
- Defines how Gaussian splats are visualized in the viewport.
- Available modes:
- Splat Mode: Default rendering mode.
- Rings Mode: Displays splats as ring structures.
- Centroids Mode: Shows only Gaussian centers.
- Rings + Centroids: Combined visualization for analysis and debugging.
-
Camera Mode
- Controls viewport navigation behavior.
- Fly Mode: Free 3D navigation (drone-like movement).
- Orbit Mode: Rotates around a selected pivot or object.
-
Transform Gizmos
- Tools for manipulating actors in 3D space:
- Translation (Move)
- Rotation
- Scale
- Tools for manipulating actors in 3D space:
-
Selection Mode
- Enables selection of entire actors in the scene.
-
Gizmo Space
- Defines transformation reference space:
- Global: World coordinates
- Relative: Local object coordinates
- Defines transformation reference space:

¶ Shortcuts
For a complete list of keyboard shortcuts associated with these tools, refer to: Keyboard-shortcuts Guide
¶ Render Mode
The Render Mode controls how Gaussian splats are visualized in the viewport.
Each mode provides a different representation useful for debugging, inspection, or final rendering.
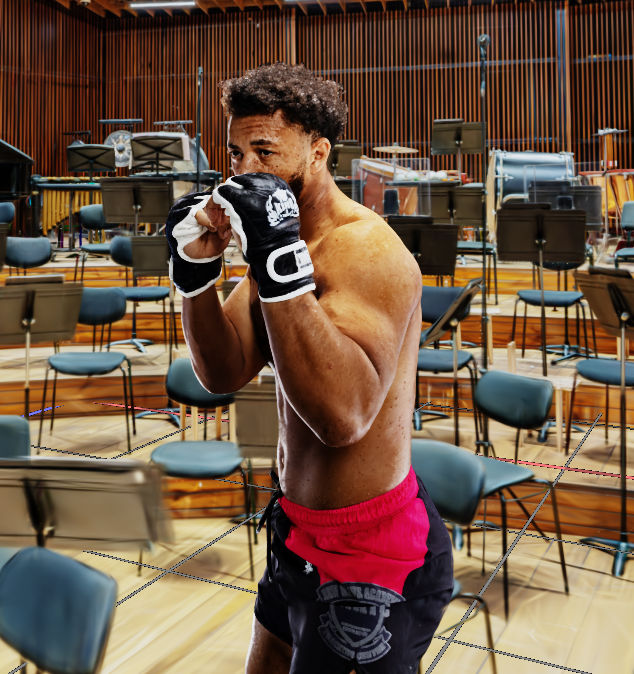
- Splat Mode
- Default rendering mode.
- Displays full Gaussian splats with standard shading and density.
- Rings Mode
- Visualizes Gaussians as ring structures.
- Useful for analyzing distribution and density patterns.

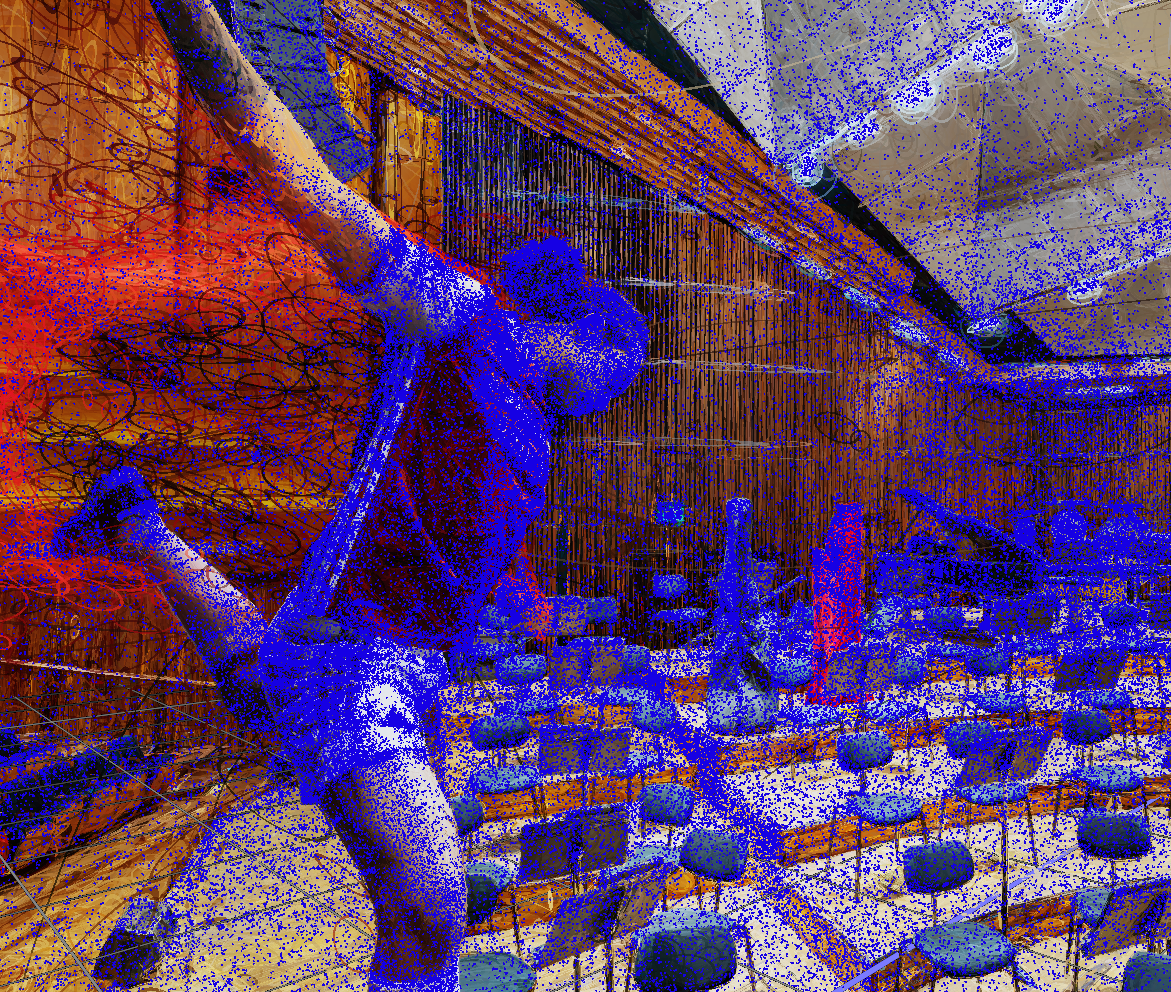
- Centroids Mode
- Displays only Gaussian centers.
- Useful for structural debugging and spatial analysis.
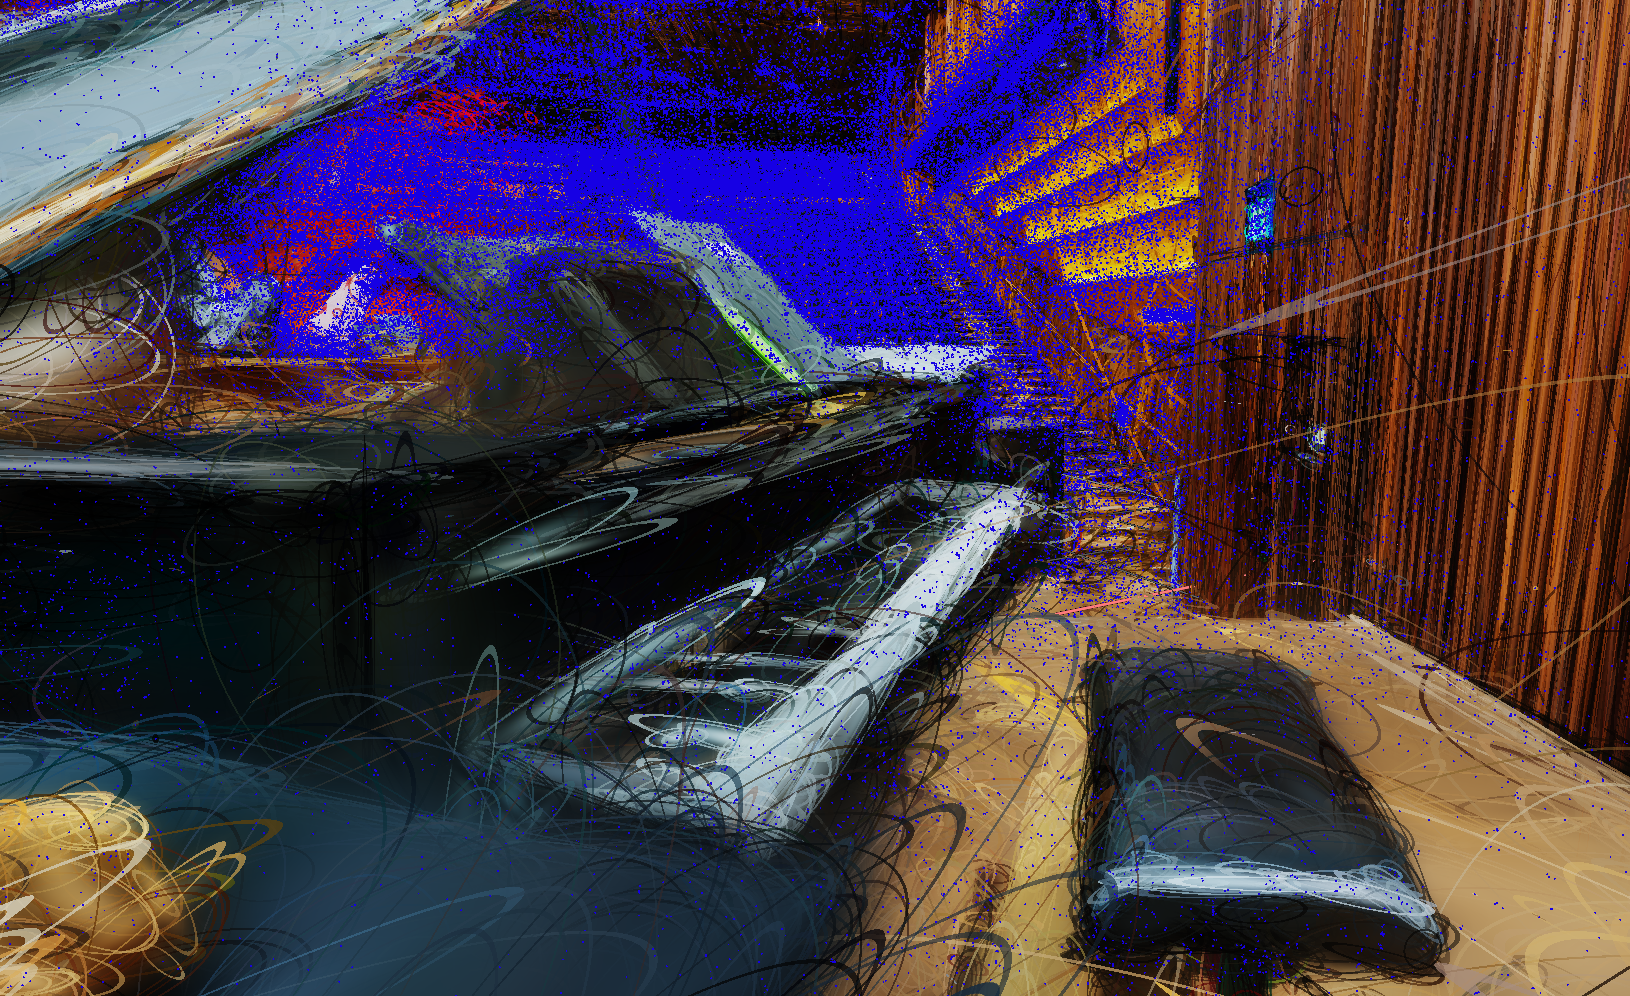
- Rings + Centroids Mode
- Combined visualization of Gaussian structure and centers.
- Best for detailed inspection and debugging.
¶ Scene Interaction
When selecting an actor, a transform gizmo appears in the viewport, allowing manipulation of position, rotation, or scale.
-
Gizmo modes can be switched using:
- Spacebar
- Toolbar buttons on the left side of the viewport
-
Transform modes:
- Move
- Rotate
- Scale
Precise numerical adjustments can be made via the Properties Panel.
Actors can be organized hierarchically within the Scene Outliner:
- Drag and drop to create parent-child relationships
- Child actors inherit transformations from parents
- Scene structure can be freely reorganized
Supported operations:
- Copy
- Cut
- Paste
- Duplicate
- Delete
Operations applied to a parent actor automatically affect all its children.
¶ Importing Actors (NVOL Workflow)
New actors can be added using NVOL files.
¶ Methods:
- Drag and drop NVOL files into the viewport
- Use: File → Import NVOL
¶ Import behavior:
-
Internal project assets
-
Added directly to the scene
-
External assets
-
Copied into the project asset folder
-
Then added to the scene